Overview
Rewards Playbox, out of the three gamification systems for Jive, allows the most customization for its rewards and quest system. Custom quests can be configured by adding and modifying events that will earn users some points per successful completion.
Events in a quest represent a checklist of items or tasks that players need to accomplish to obtain awards.
This article demonstrates the steps for configuring quest events.
Requirements
- Administrator access to the Jive Admin Console.
- Installed the latest version of the Jive Playbox gamification system.
Process
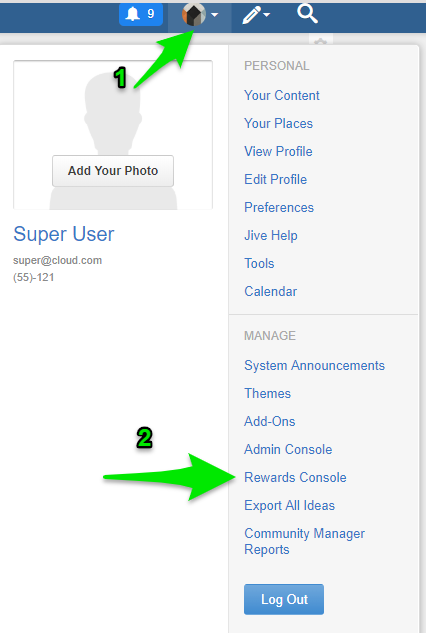
- Go to your Avatar Menu.
- From the menu, click the Rewards Console to launch it.
- Click the Quests tab.
- Search for the Quest Name that you need to either activate or deactivate. Click this quest.
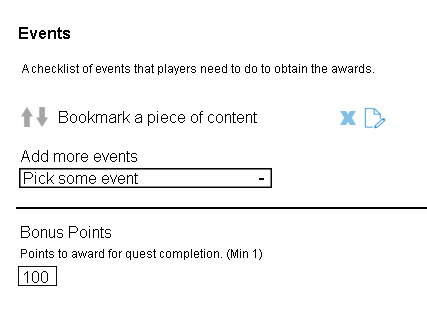
- Scroll to the Events section, specify an event that must be performed for the quest completion.
- You can re-arrange the chronological order of existing events by clicking the up and down arrow buttons.
- From the Add more events field, you can choose a specific task from the dropdown menu.
- Optionally, if available, you can add more conditions to the event. For example, an Add a skill event doesn't need any conditions. But for a Create a piece of "content" event, you need to specify the type of content, such as a blog post or a discussion, or a place where the content piece must be created, or both.
- Specify the number of times the event must be completed.
- Bonus points field, type the number of extra points to be awarded to each user upon successful completion of each event.
- Click Add Event.
- At the bottom of the page, click Save Quest.
Confirmation
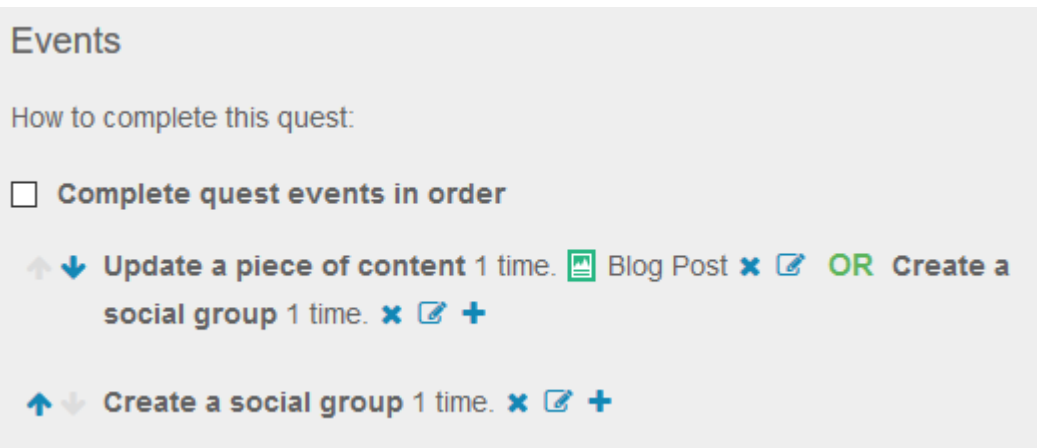
After clicking Save Quest, the events will now be immediately displayed under the Events section of the specific quest.
To check if the events were successfully added, simply go back to the Quest (or refresh the page) and check if the events are listed correctly as requirements for successful quest completion.


Priyanka Bhotika
Comments