Overview
In order to configure ADFS for SAML SSO with Jive, the process is done manually. This configuration is completed by running the Relying Trust Party wizard in ADFS which is then completed by finishing the Edit Claim Rules steps.
This article provides detailed information on the ADFS Metadata, Claim Rule Mappings and walks you through the steps required to complete the wizard setup.
Information
You can go through the article: SAML SSO Terminologies to get yourself familiarized with the terminologies used for further understanding.
ADFS (Active Directory Federation Services) Metadata
Refer to the Federation metadata URL for more information. (Requires you to be connected to the VPN to access this page.)
ADFS Claim Rule Mappings
| Item |
AD Attribute Name | ADFS Name | SAML Assertion Name | Notes | Example |
|---|---|---|---|---|---|
| User's GUID | objectGUID |
NameID | Subject NameID (not an attribute) | As of 5.0.4 and 6.0.4, this will be used as the permanent unique identifier by default. ADFS requires that the NameID outgoing claim be configured regardless of which version of Jive is used. |
The permanent, unique identifier for a user in AD. Passed as a base64-encoded binary value, e.g.,
This is because of the base64 pads with |
| Username | sAMAccountName |
Windows account name |
http://schemas.microsoft.com/ws/2008/06/identity/claims/windowsaccountname |
– | e.g., US1234567 |
E-Mail-Addresses |
E-Mail Address | http://schemas.xmlsoap.org/ws/2005/05/identity/claims/emailaddress |
– | – | |
| Given name (first) | Given-Name |
Given Name | http://schemas.xmlsoap.org/ws/2005/05/identity/claims/givenname |
– | – |
| Surname SN | Surname |
Surname | http://schemas.xmlsoap.org/ws/2005/05/identity/claims/surname |
– | – |
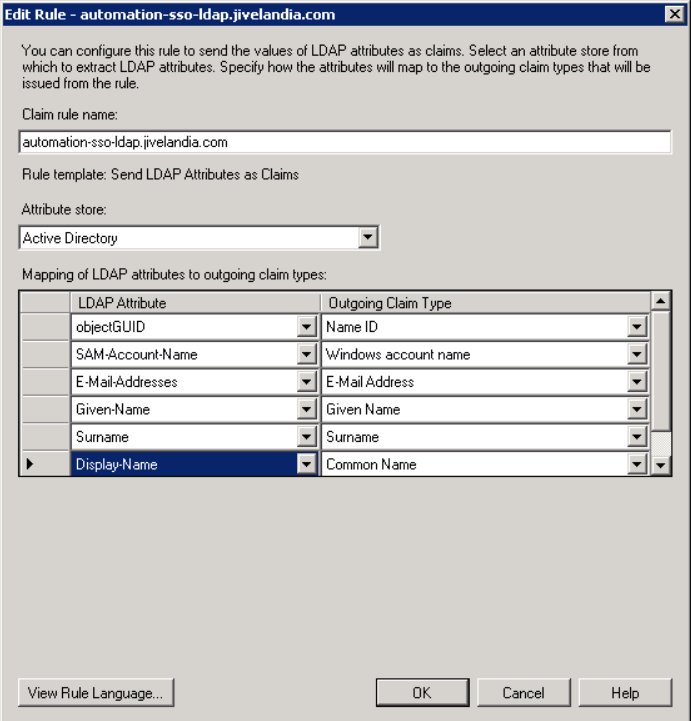
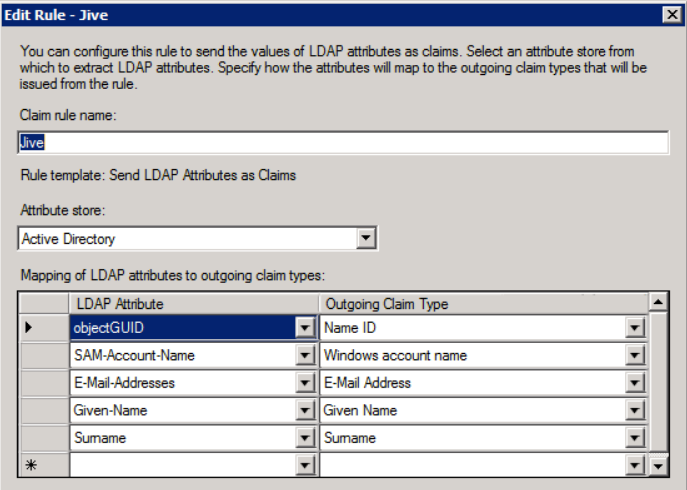
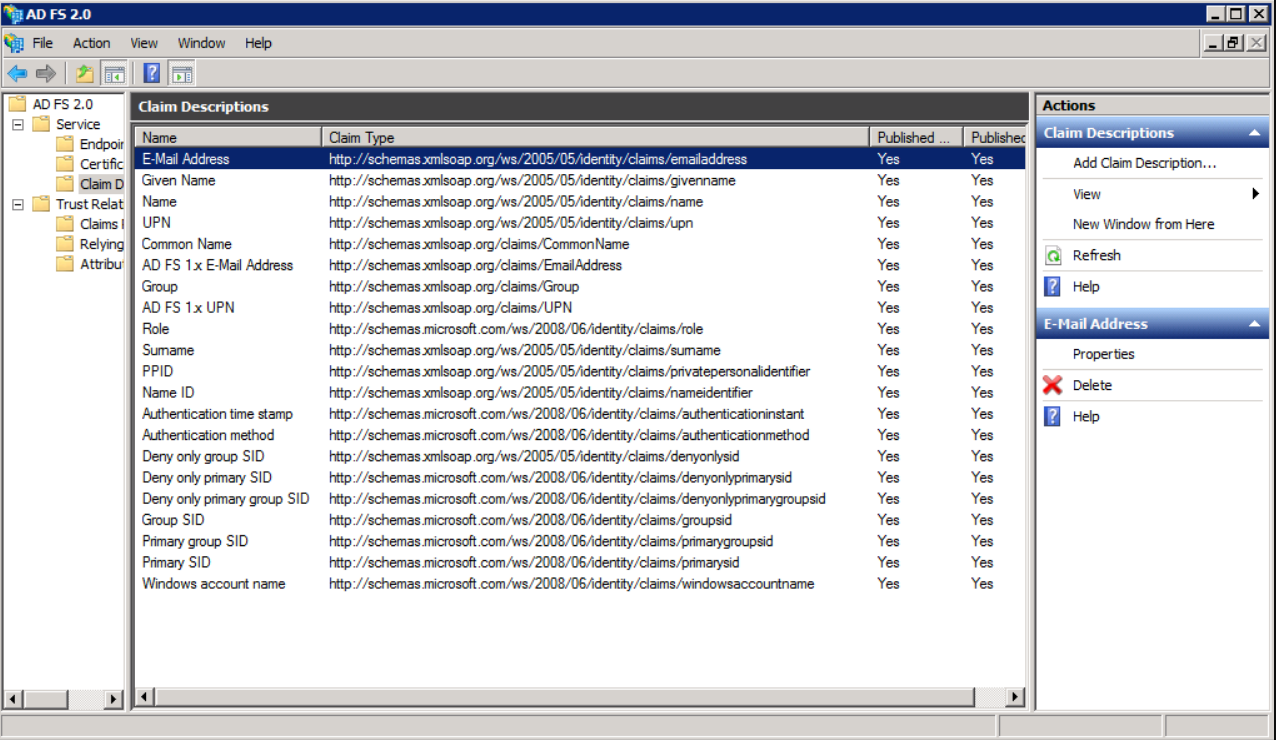
When you set up the claim rules later, they should look like the following screenshot:
objectGUID does not appear in the drop-down list, and must be manually typed in.
Process
Running the Relying Party Trust Wizard in ADFS
ADFS uses the term Relying Party (RP), which is the overarching term for both Service Providers (SP) and Identity Providers (IdP). This is because IdPs can be set up as relying parties with each other, so one IdP delegates authentication to another. This really just serves to make things confusing in ADFS. This is a consistent theme of ADFS.
- Jive is a relying party, specifically a Service Provider (SP). Click Add Relying Party Trust.
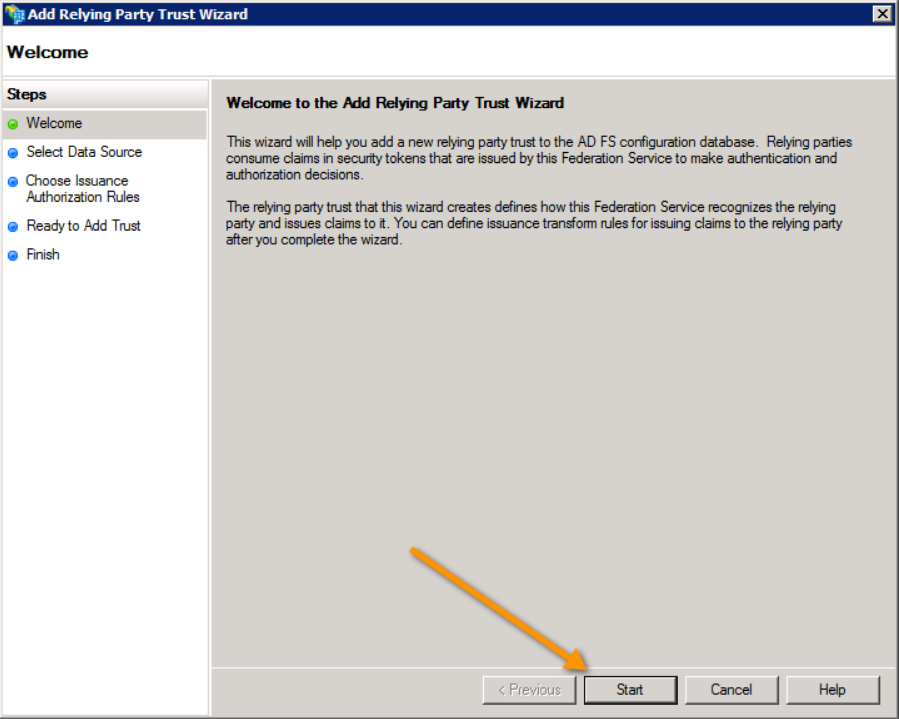
- The wizard starts with a highly informative splash page. Click Start.
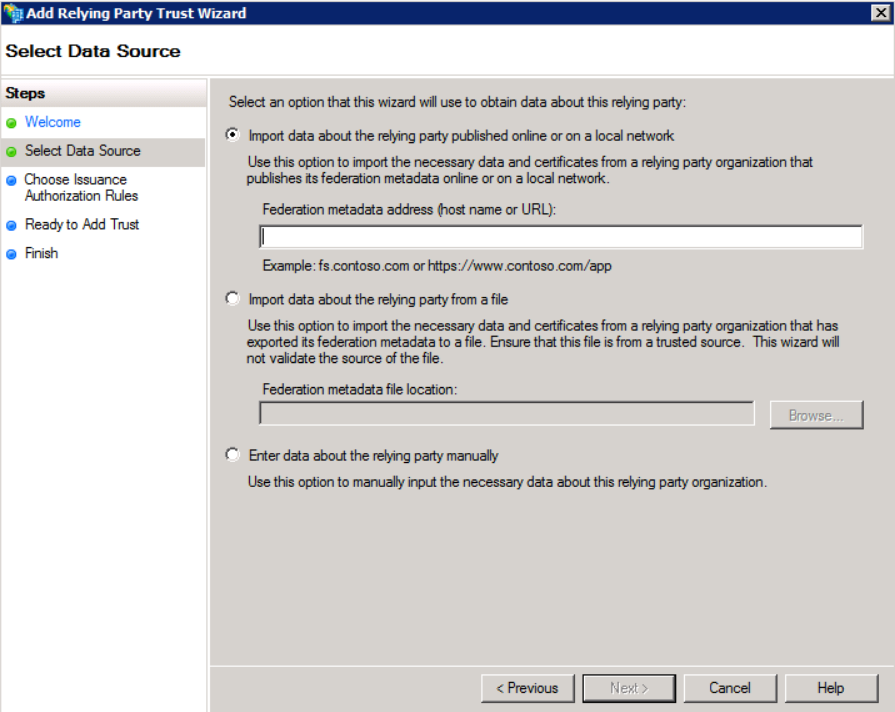
- The following are three options for configuration:
- Import data about the relying party published online or on a local network - This imports the SP metadata from a URL (note that this must be an https URL with an authority-signed cert attached to it). The
hosted.jivesoftware.comcerts do not work - ADFS gives a cryptic error message if you try to use one. - Import data about the relying party from a local file. This imports the SP metadata from a local file and works great for the initial import, but you cannot later update the metadata from a file - only from either a URL or manually editing the settings.
- In this case, manually set all the various settings by choosing the option Enter data about the relying party manually as they are defined in the metadata.
- Import data about the relying party published online or on a local network - This imports the SP metadata from a URL (note that this must be an https URL with an authority-signed cert attached to it). The
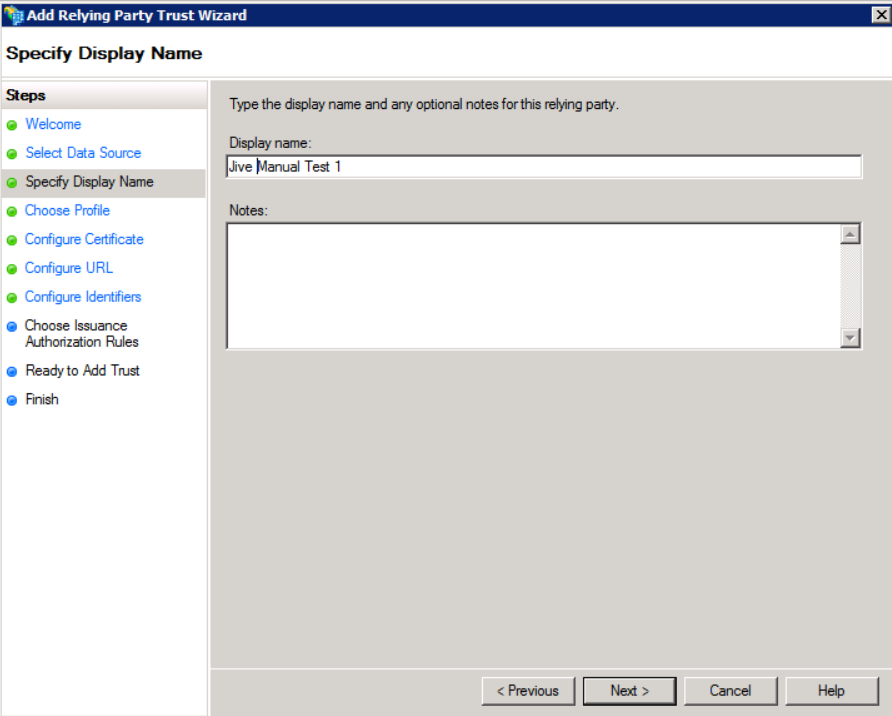
- Chose a descriptive name for the Display name. This is just how the Jive profile appears in the list of profiles.
NOTE: When you import the metadata from a URL or file, all the necessary configurations are filled out for you. Below are the manual settings to give us a feel for the various settings in ADFS that are configured from the Jive metadata.
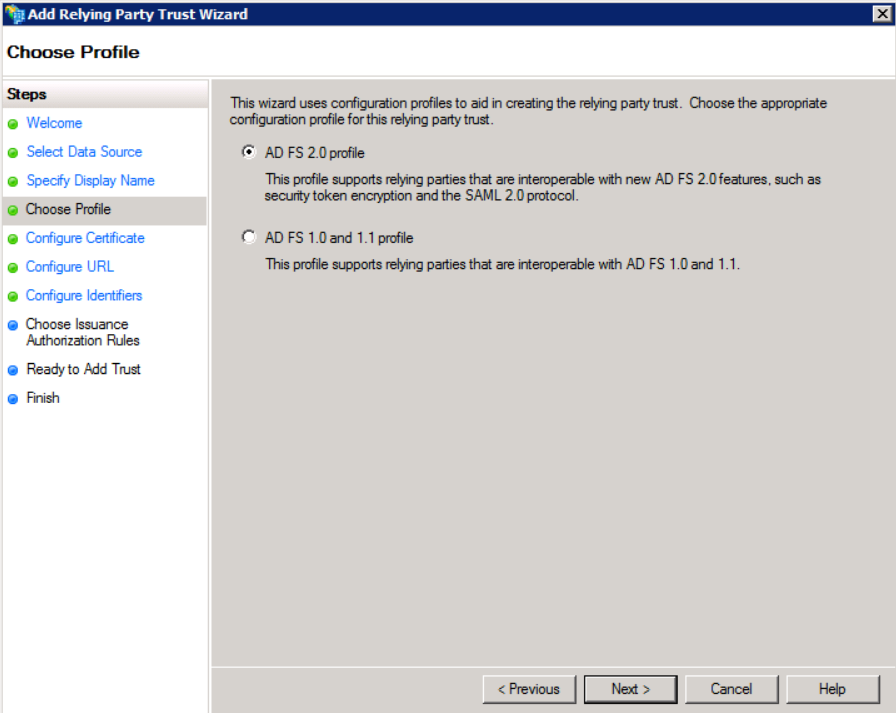
- In Choose Profile, choose AD FS 2.0 - this is the only one that supports SAML 2.0.
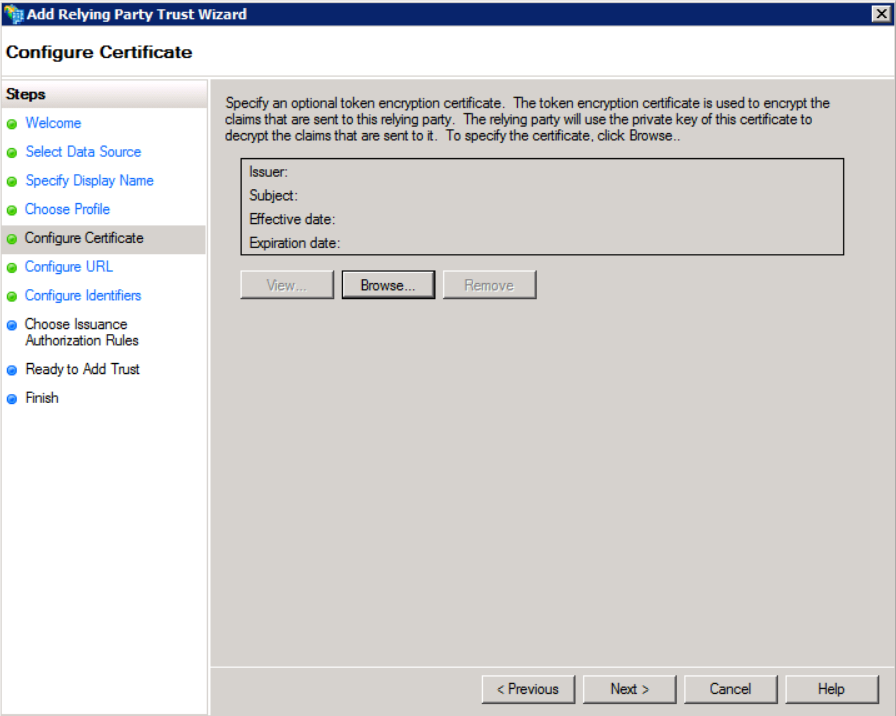
- In Configure Certificate, configure the certificate which contains the public key of the keypair that is used by Jive to sign the
AuthnRequests. This is in theKeyDescriptorelement of the Jive SP metadata.
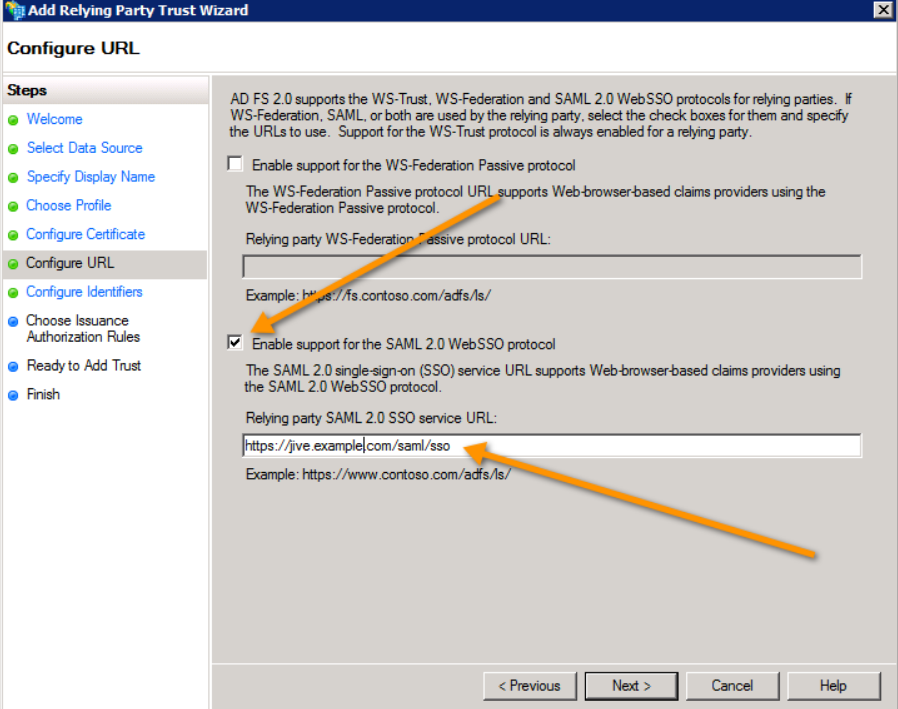
- Check Enable support for the SAML 2.0 WebSSO protocol option and this is what Jive uses. The other option is something we do not support and no one uses.
- The Relying Party SSO service URL is commonly referred to as the Jive endpoint or the SP endpoint.
- It is the value that is in Jive SP metadata as the
SingleSignOnServiceelement's Location attribute value. - It is always
jiveURL/saml/sso. This is the URL that the IdP redirects the user back to with theAuthnResponseafter they log in.
- The Relying Party SSO service URL is commonly referred to as the Jive endpoint or the SP endpoint.
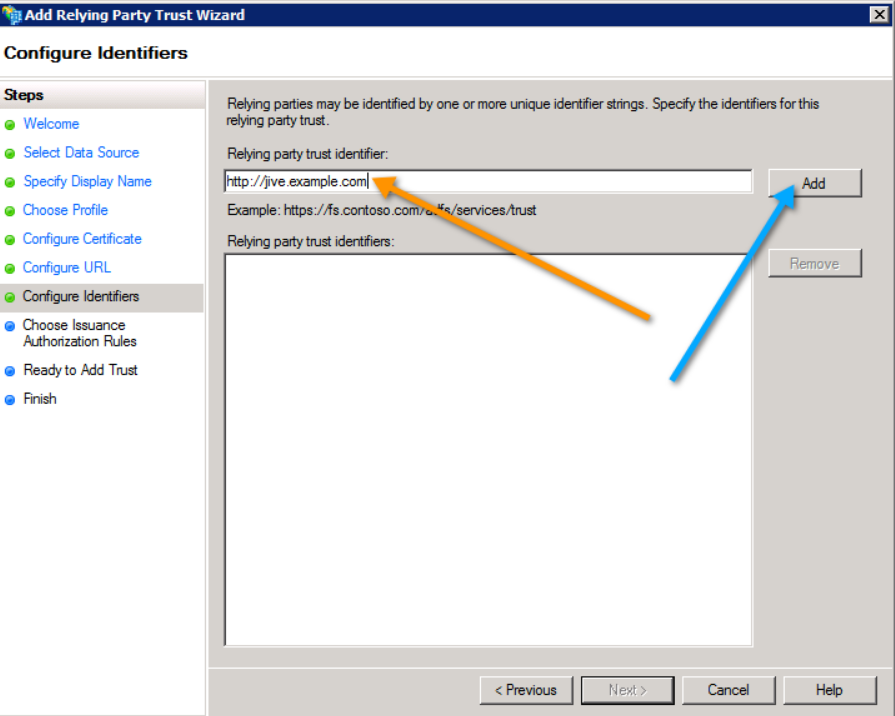
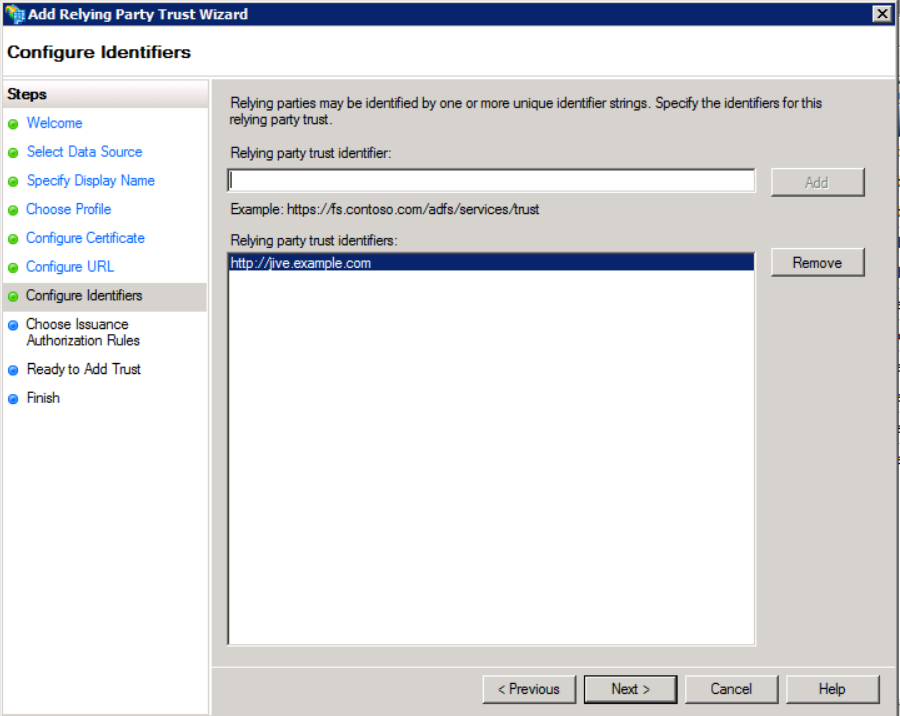
- Add the
jiveURLand click Next.
- The Relying party trust identifier is the value that uniquely identifies the Jive instance.
- This defaults to the
jiveURL. - The specific value is the Jive metadata's
EntityDescriptorentityIDattribute value.
- The Relying party trust identifier is the value that uniquely identifies the Jive instance.
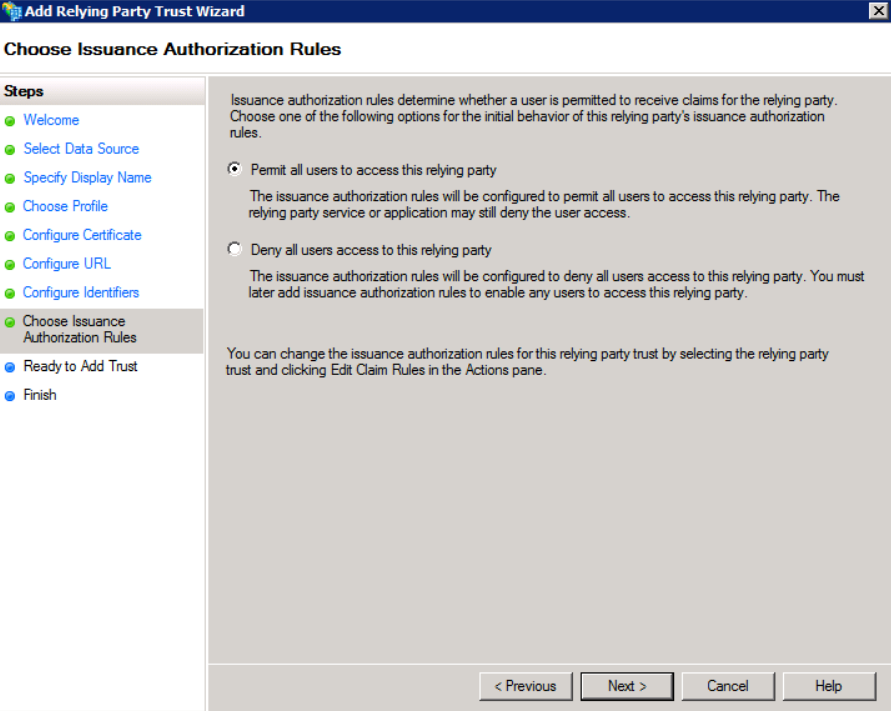
- In Choose Issuance Authorization Rules, choose Permit all users to access this relying party and click Next.
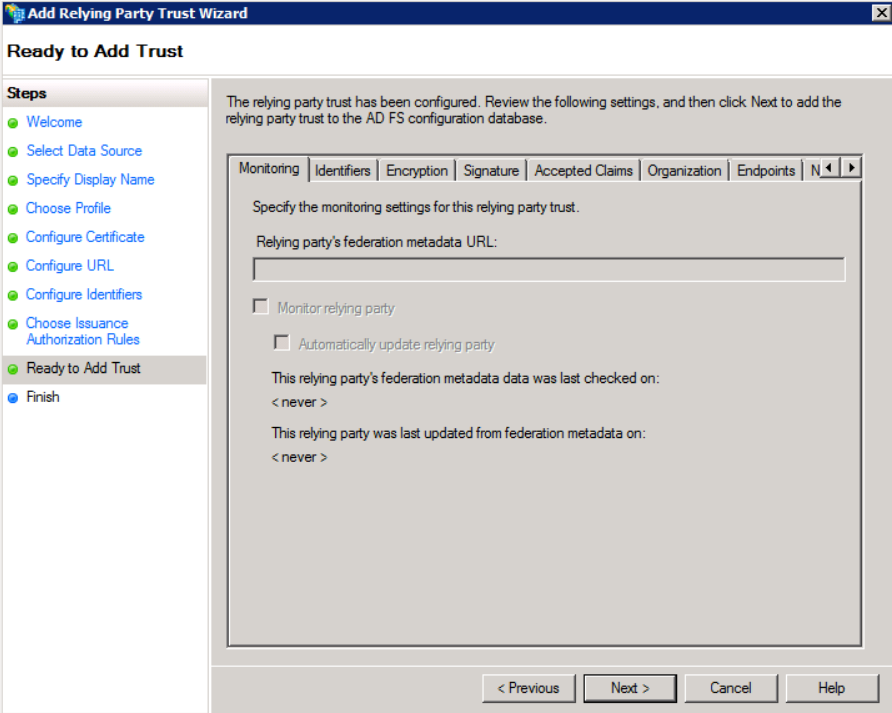
- In Ready to Add Trust, all the values are summarized. Click Next.
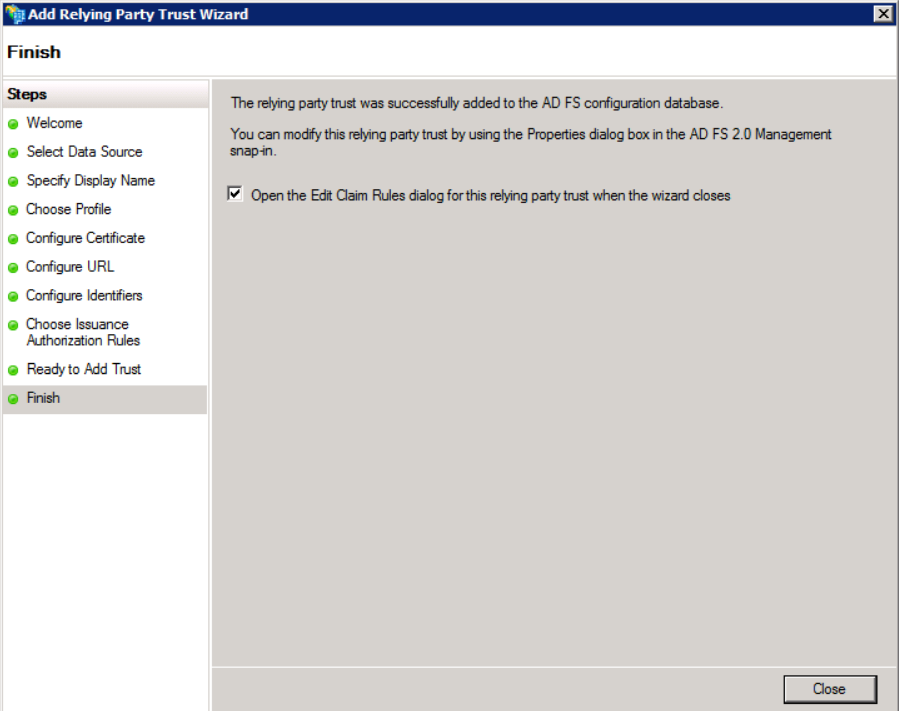
- The wizard is now finished. Ensure Open the Edit Claim Rules dialog for this relying party trust when the wizard closes option is checked and click Close.

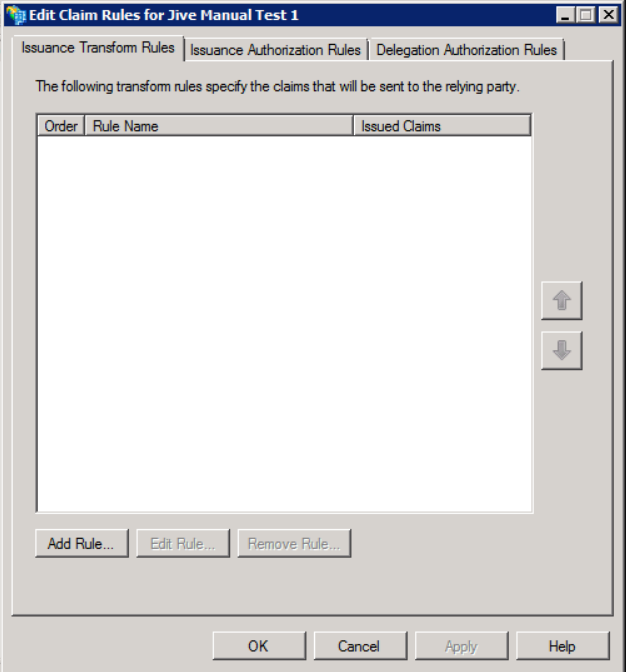
Edit Claim Rules Dialog Box
The Edit Claim Rules dialog defines what Assertion Attributes are populated in the SAML AuthnResponse. This defines a mapping between user attributes in Active Directory and those included in the Response.
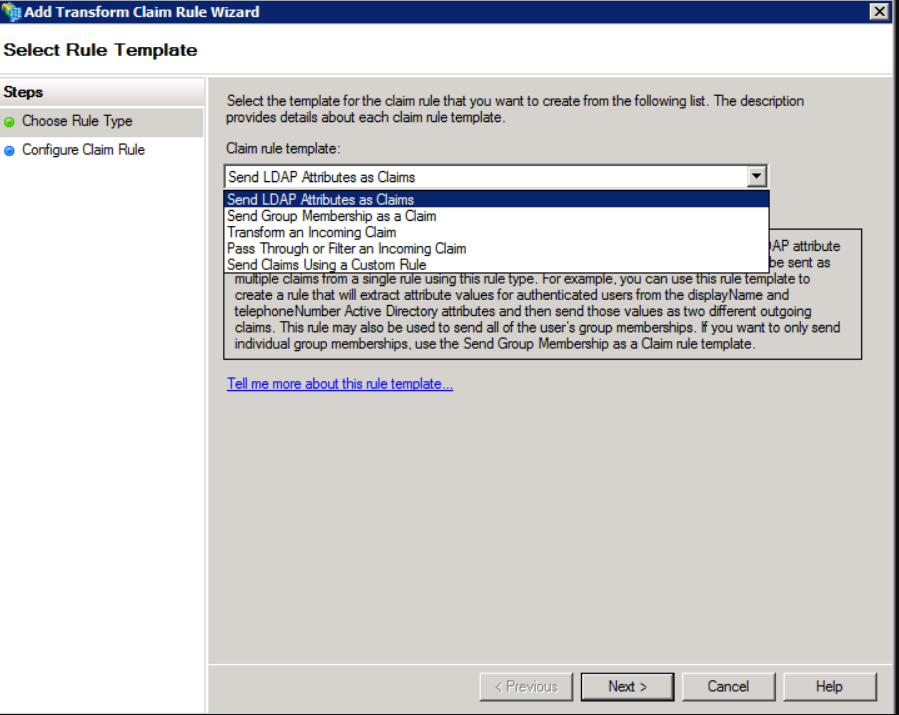
- No rules are bad since that means nothing gets populated in the SAML Response. Thus, we add one by clicking Add Rule.
- Choose Send LDAP Attributes as Claims as the Claim rule template. This pulls them from the user attributes in AD.
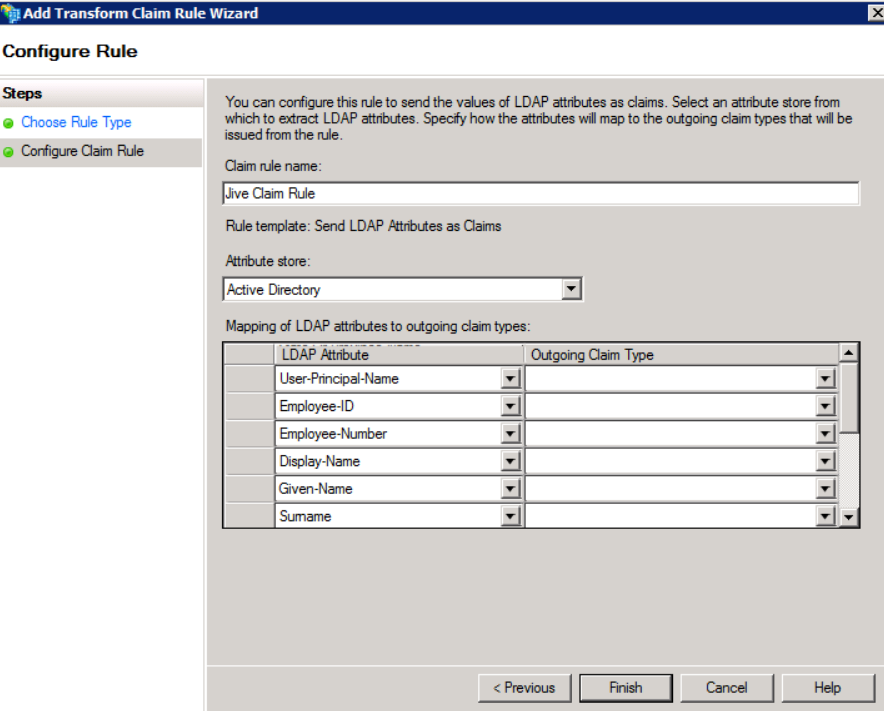
- Create a Claim rule name for Jive and select the Attribute store to be Active Directory.
- Add LDAP Attribute and map them to the Outgoing Claim Type value:
- This is an obtuse term for the name of the Attribute in the SAML Assertion.
- You only need to map them to Name ID, E-mail Address, Surname, and Given Name.
Thus, you do not have to add all the attributes seen in the screenshot below. sAMAccountNameis usually mapped to Name ID.
- This is an obtuse term for the name of the Attribute in the SAML Assertion.

Summary
Here is what the standard Jive mappings look like (this is the same page, but when you edit the existing rules rather than creating new ones via the wizard):
Everything is now set up for Jive now! Here is a list of all the possible attributes:
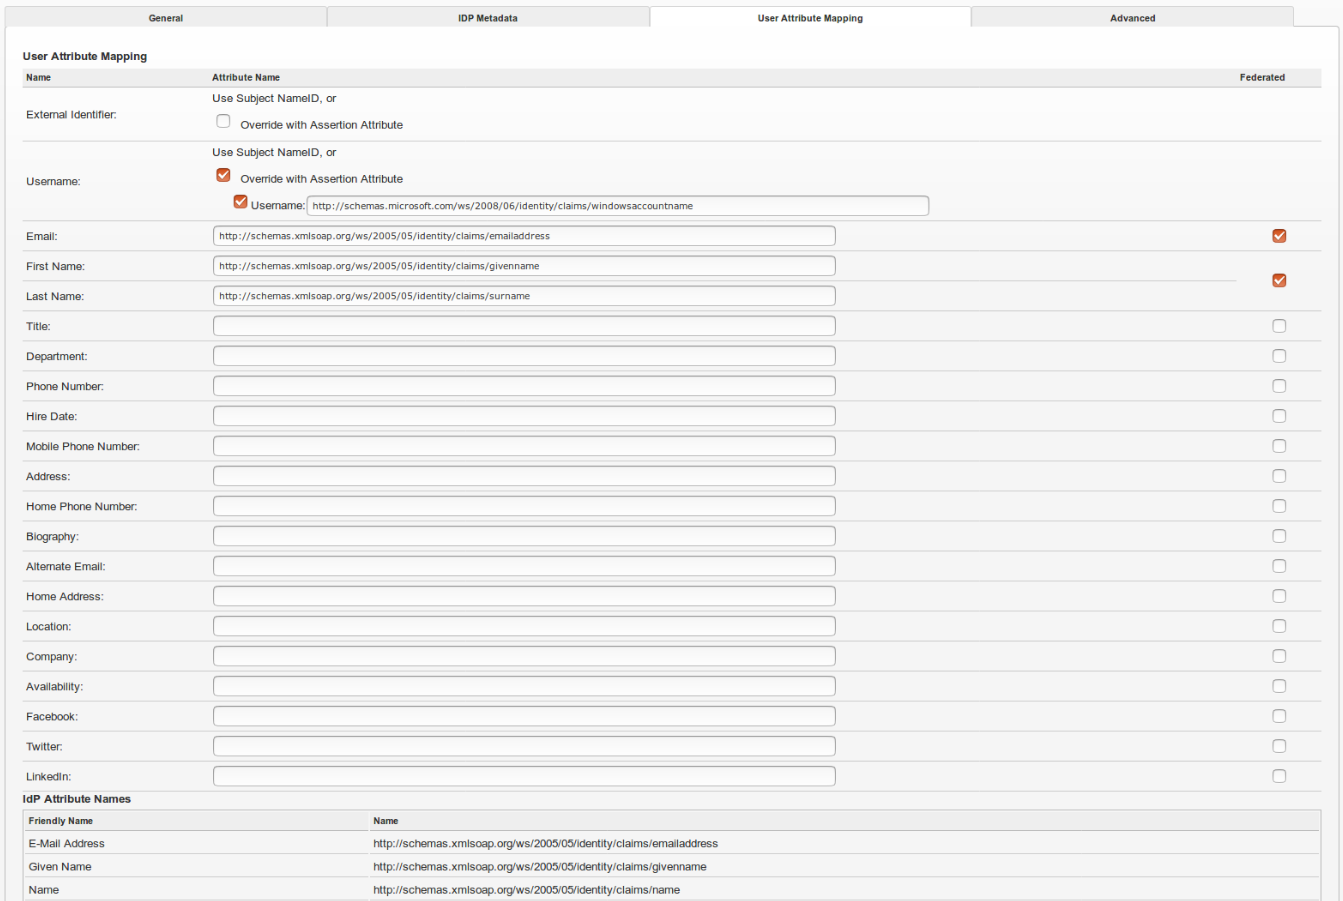
User Attribute Mapping in Jive
The below screenshot shows what User Attribute Mapping would appear like along with the IdP Attribute Names.
Related Articles
Troubleshooting SAML SSO Issues
Resetting SAML SSO KeyStore in Jive Cloud AWS
Priyanka Bhotika
Comments