Overview
Jive allows customers to develop and deploy their custom themes. To do this, they would use Soy or Freemarker (FTL) templates. By implementing these themes, they can modify the Jive application's underlying page templates.
NOTE: This article is a component of Big Book of Backporting, which you can review for additional context and information.
WARNING! All modifications to soy files should be made directly in the theme. Do not add soy files to fixpack or Custom WAR.
This article explains how to edit the Jive application's underlying page templates using Soy/ FTL templates.
Process
- Navigate to Admin Console > System > Settings > Themes and edit the theme that is listed under Global Theme Map.
- For all existing Custom Templates, apply only the difference that can be found in the fixpack's patch file.
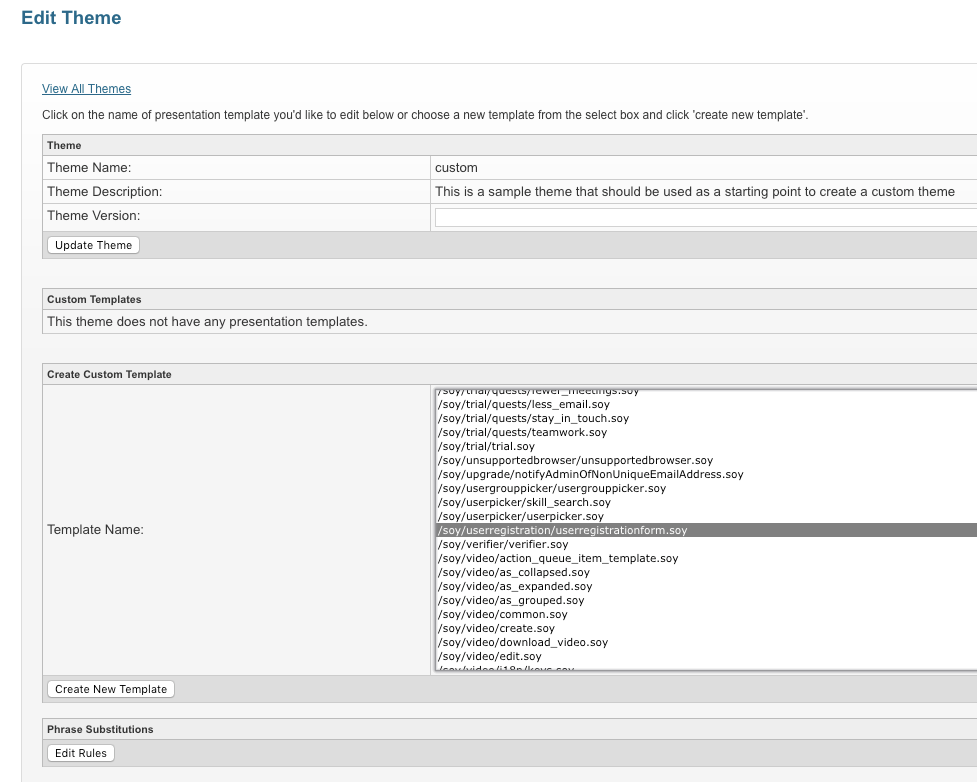
- In Create Custom Template, select the file which needs to be modified and click the Create New Template button.
- Make the changes and press Save Template. On the Edit Theme page, the file now shows up in the list of Custom Templates.
- For the changes to be reflected in the instance, regenerate JavaScript.
- Go to Admin Console > System > Management > System Properties.
- Set
jive.resource.saltto the current epoch timestamp.- This property was created to force-generated JavaScript to be removed so that when it gets regenerated, the path would include some new unique ID or sequence number without having to restart the application.
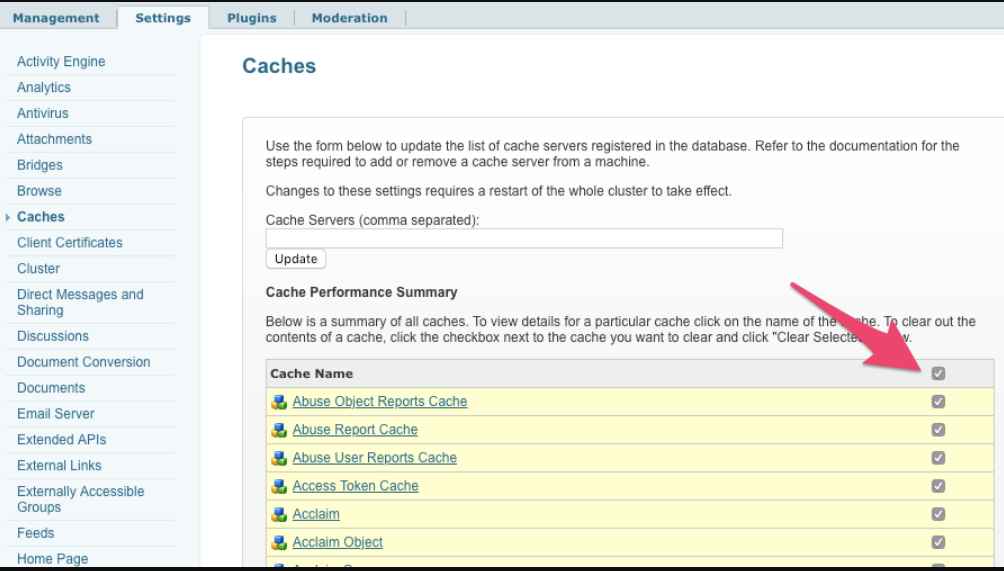
- Clear caches.
- Repeat these steps for all soy files included in the commit.


Priyanka Bhotika
Comments