Overview
System properties allow a significant number of fine-grained configuration options that are not available through the user interface. This article guides you through the process of adding a system property as well as making changes to the values of the existing system properties.
Diagnosis
Only On-Premise customers can add system properties by themselves.
Hosted and Cloud customers need to have this operation performed by a Support Agent, by opening a ticket into the Jive Support Portal.
Solution
The process to be applied differs if you are Adding System Property or Editing a System Property.
Adding System Property
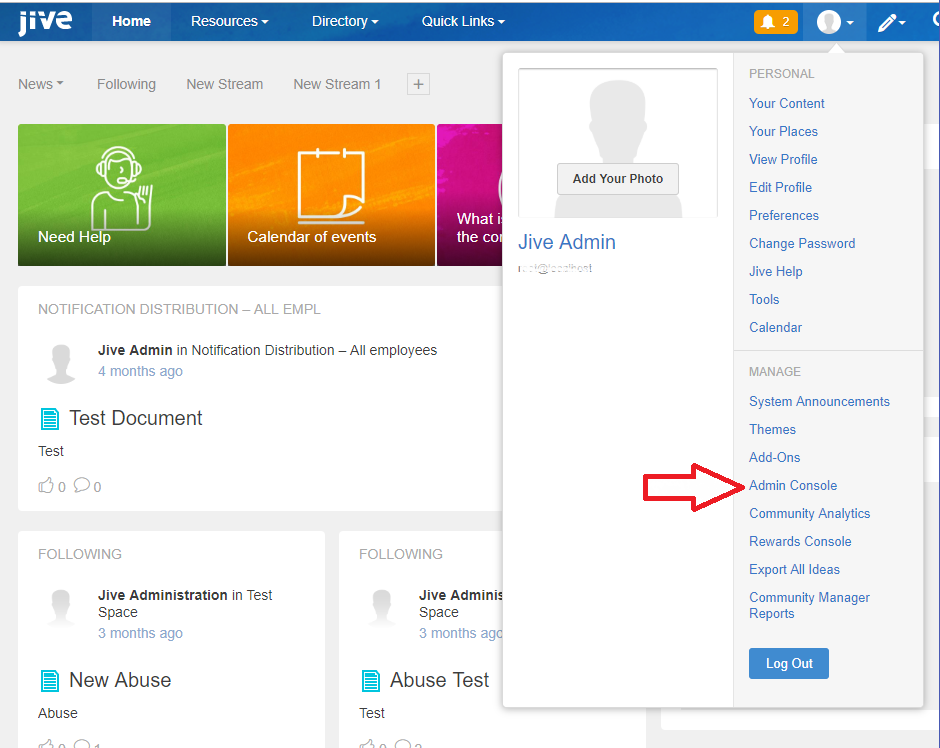
- Navigate to the Jive Admin Console.
-
From the homepage, click on your avatar on the top right corner of the page.
-
Click on Admin Console
-
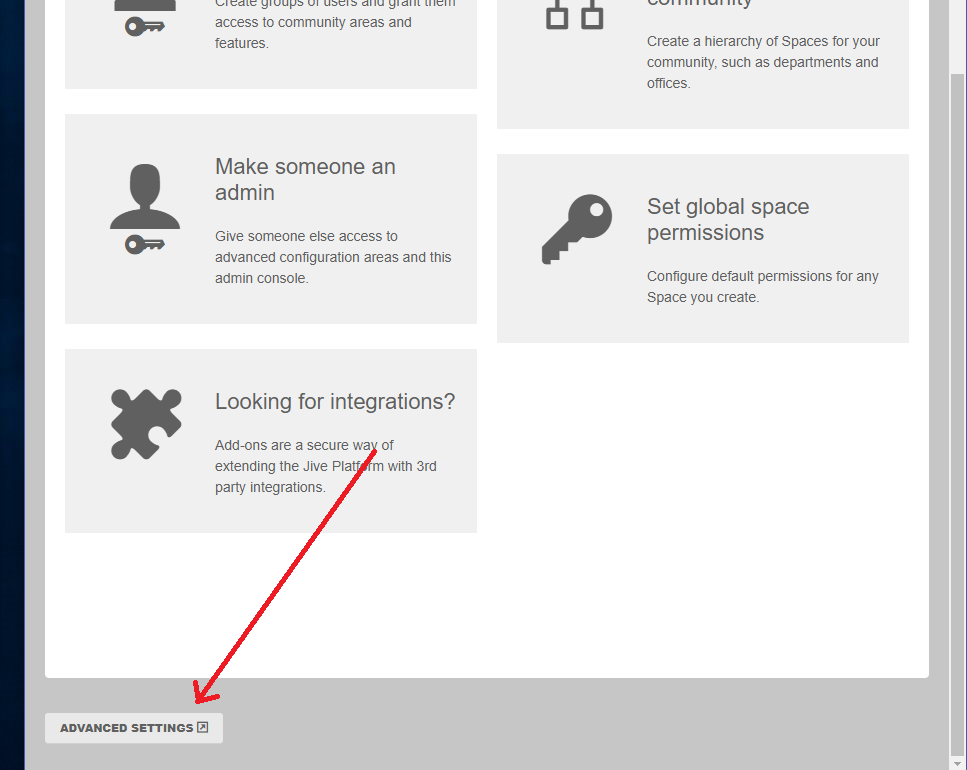
Scroll down to the bottom of the page and click Advanced Settings button found on the left side.
-
- Now that you are on the Admin page, go to System > Management > System Properties.
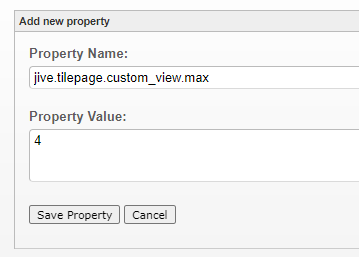
- Enter the Property Name and the value in the Add new property section.
- Click Save Property.
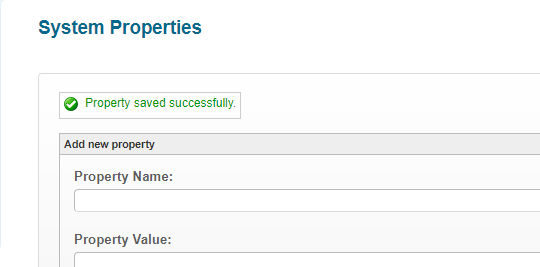
- A message saying Property saved successfully is displayed to confirm that the changes have been saved and added successfully.
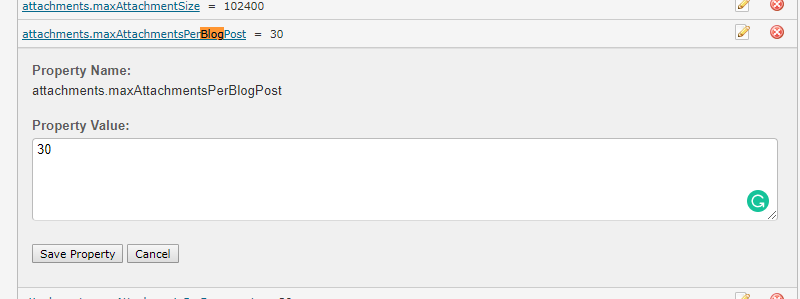
Editing a System Property
- From the same System Properties page, locate the system property that you need to edit and click on it.
- Enter the new value and click Save Property.
- A message saying Property saved successfully is displayed to confirm that the changes have been saved successfully.
Priyanka Bhotika
Comments