Overview
Once you have restored the database download via pgAdmin, (see the Related Articles section for reference articles), you can use this article for step-by-step instructions on how to query the database via pgAdmin.
This article demonstrates you how to execute SQL statements against your newly restored database, and is not intended to be a guide on how to construct your SQL statements.
You can refer to PostgreSQL: Documentation: 9.2: The SQL Language for an excellent introduction to SQL.
NOTE: Jive Software does not give support in writing, executing, and debugging custom SQL statements.
Environment
- This article covers all versions of Jive Custom.
- The commands in this article were written using PostgreSQL version 9.2.6
- This guide was written for the Mac OSX release of Postgres/pgAdmin; however, the steps should translate to Windows or Linux.
Process
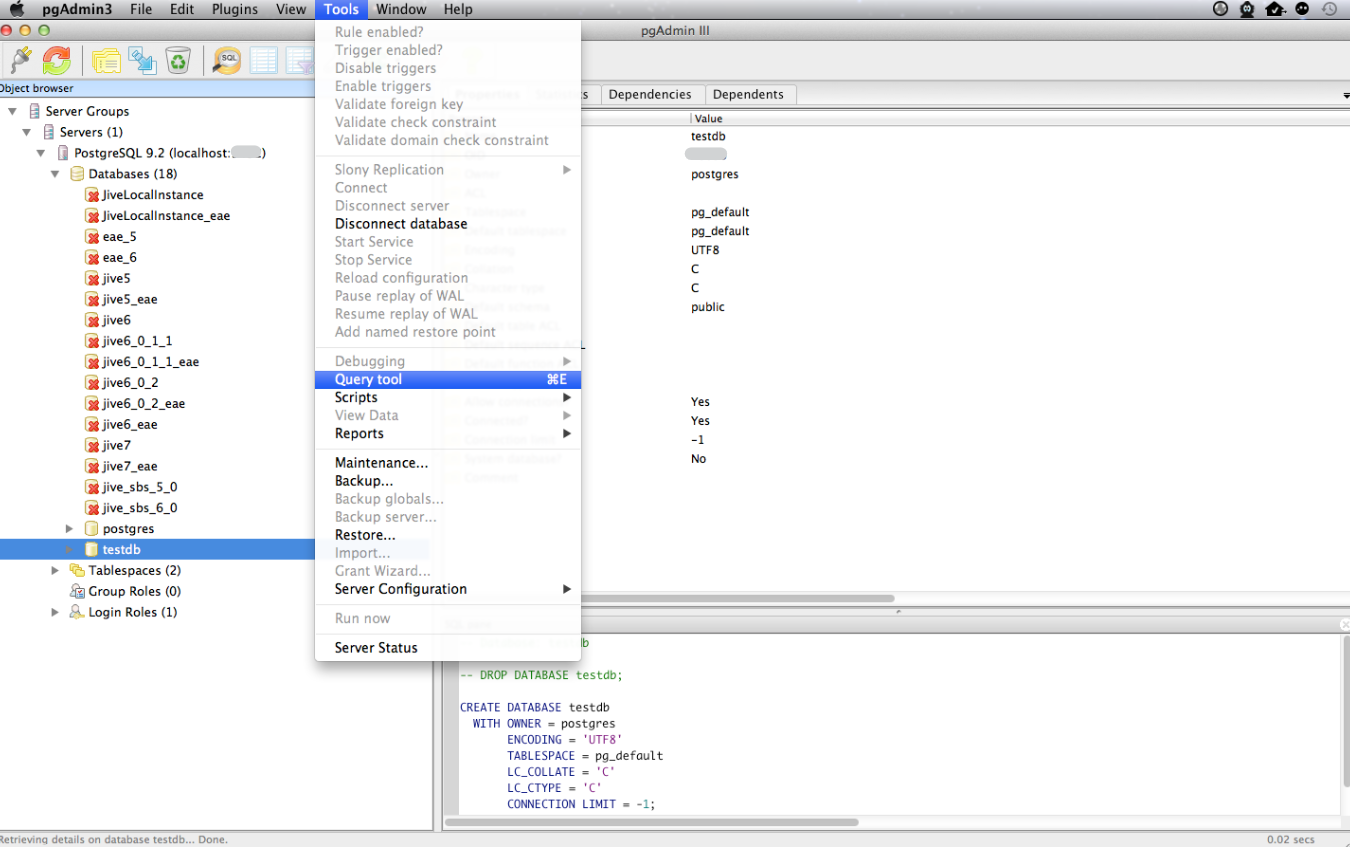
- Left-click on your database name and then click the image of the magnifying glass over the yellow silo with SQL in the center.
- Alternatively, select Tools > Query Tool from the menu bar or use the hotkey Cmd-E (Ctrl+E on Windows).
- This loads the query tool and connects it to your database.
- This loads the query tool and connects it to your database.
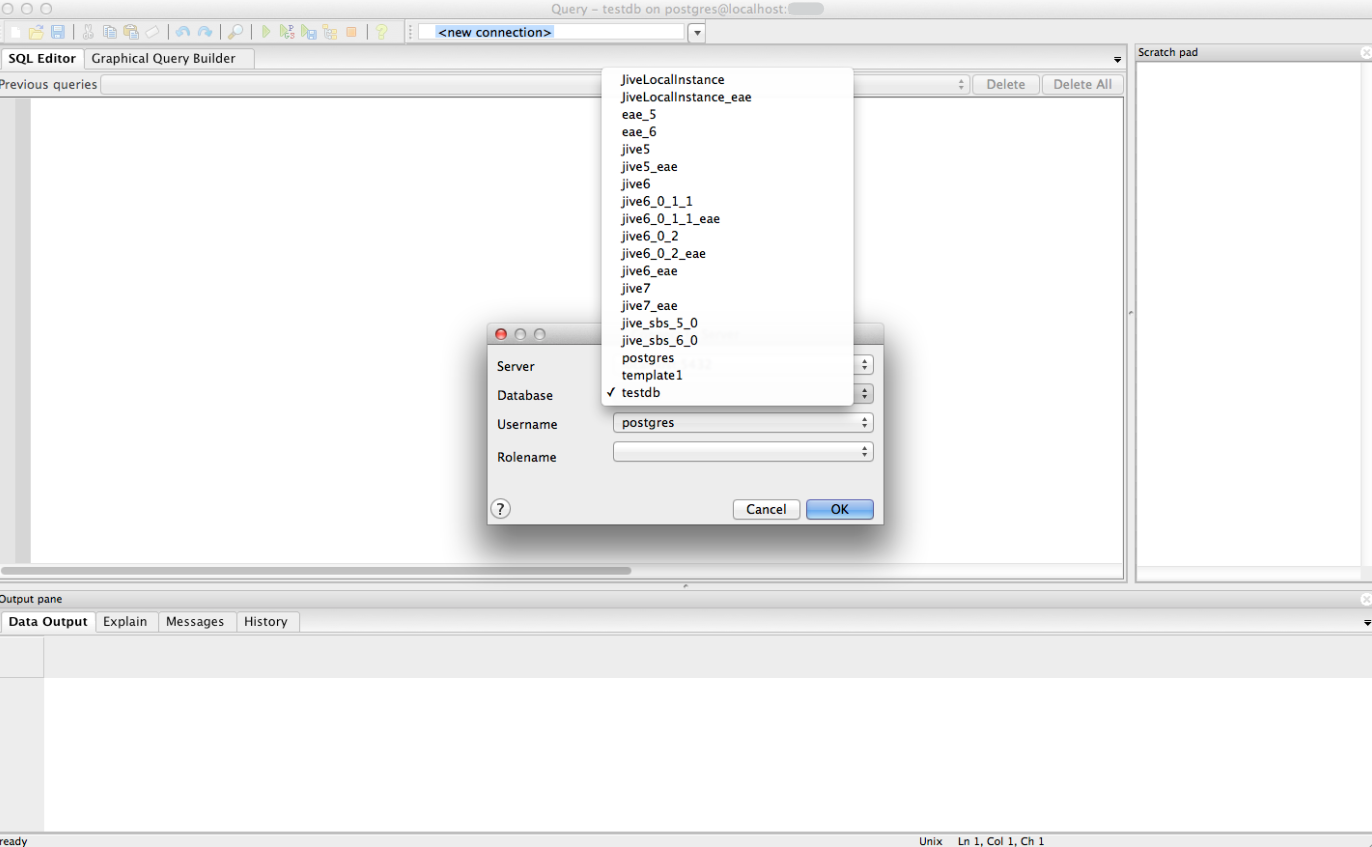
- If the database listed is incorrect, or you need to connect the query tool to a new database, then click the arrow next to the database name and select
<new connection>.
- Select the database name from the database drop-down list and hit OK. For basic installs, there should be no need to change the Server or Username.
- Alternatively, select Tools > Query Tool from the menu bar or use the hotkey Cmd-E (Ctrl+E on Windows).
- Once you are connected to the proper database, you can enter your queries directly into the main pane of the SQL editor. In order to execute the query, hit the green arrow (Execute Query button), as shown below.
- The results will be displayed in tabular format in the lower half of the screen under the Data Output tab.
- The results will be displayed in tabular format in the lower half of the screen under the Data Output tab.


Priyanka Bhotika
Comments